After setting up my Notepad++ to use the proxy settings, I was able to install the DSpellCheck plugin. However, I wasn't able to download the language dictionary files. Despite using different options under the Connection settings dialog of DSpellCheck, it still crashes Notepad++. So, I gave up and install the language dictionary files manually. In this tutorial, I will show you how to manually install the language files.
- Go to https://github.com/LibreOffice/dictionaries.
- Open the language folder you want and download all *.aff and *.dic files to
%APPDATA%\Notepad++\plugins\config\Hunspell. - Restart Notepad++.
- For my case, I opened the en folder and used
- en_AU.aff
- en_AU.dic
- en_CA.aff
- en_CA.dic
- en_GB.aff
- en_GB.dic
- en_US.aff
- en_US.dic
- en_ZA.aff
- en_ZA.dic
- hyph_en_GB.dic
- hyph_en_US.dic
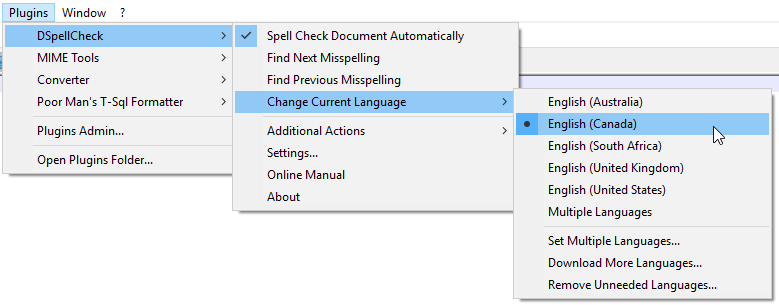
- After you successfully installed the dictionary files, you will see the list of languages like the followings.

- Here is how the auto spell check looks like in action.

Reference
- https://github.com/Predelnik/DSpellCheck/issues/62

